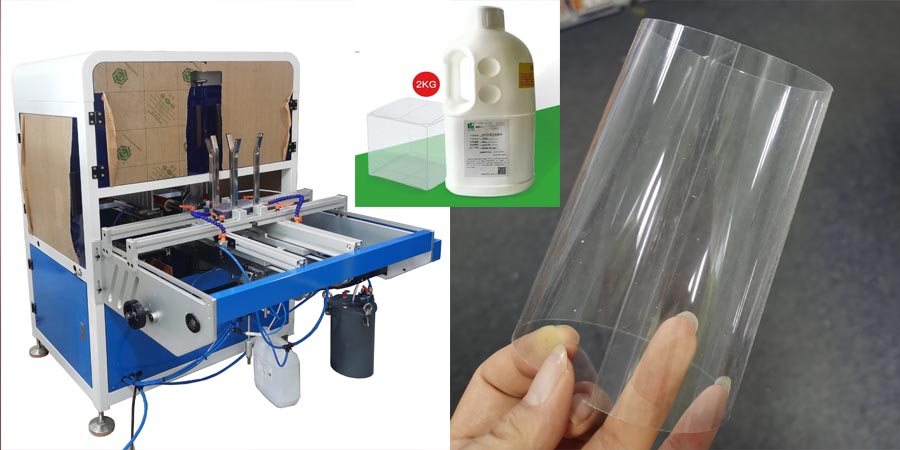
Plastic Clear Acetate Tube Machine Installation Instructions
1. Transportation Packaging – Unboxing& Assembly
For the convenience of transportation, we carry out standard Plastic Clear Acetate Tube Machine Model JC-180S-AG plywood wooden box packaging according to the customer’s requirements. After the equipment arrives, please check whether the wooden box or the PE stretch film is damaged, and whether the equipment is damaged. If the Plastic Clear Acetate Tube Machine is damaged, please contact the freight forwarding company or our company immediately. If the equipment is intact, you can open the package and start installing the equipment.
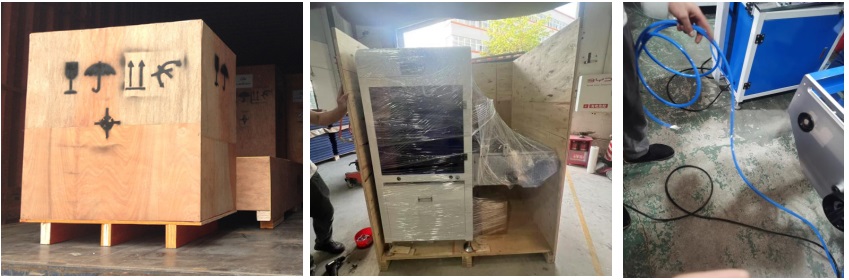
If long-distance transportation is required, we can customize the wooden box packaging for the equipment for air freight or sea freight according to the customer’s requirements.
2. Connect the power supply and the air pipe
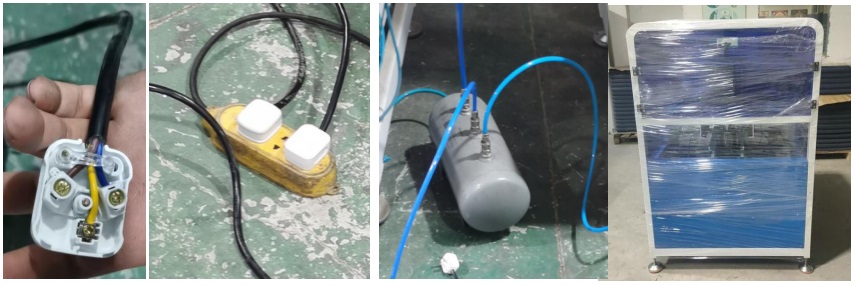
Our Plastic Clear Acetate Tube Machine adopts a single-phase 220V input voltage. There are three wires in total. The red wire is the fire wire, the black wire is the neutral wire, and the yellow-green wire is the ground wire.
The air pressure requirement for one piece of equipment is 1-2P. For a production line of products involving sheet material molding, cylindrical molding, ultrasonic bottom sealing or glue bottom sealing, it is recommended to use an air compressor with a capacity of 5P.
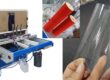
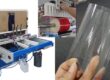
3. Glue Installation
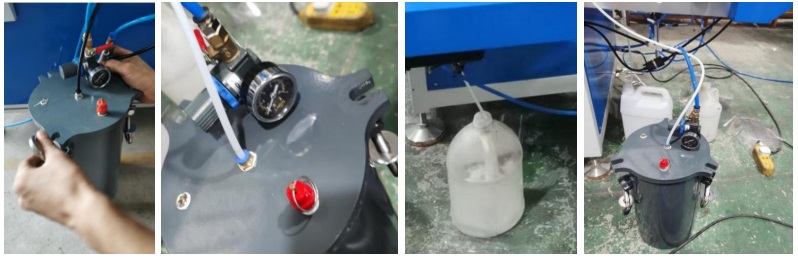
- Our factory is equipped with two 5-kgglue tanks. The consumption of the glue can be adjusted according to the width of the glue application and the length of the cylinder.
- Since PVC and PET glues are toxic volatile liquids, they cannot be shipped together with the equipment. After the Plastic Clear Acetate Tube Machine arrives, fill the glue cylinder with glue
- Insert the glue hose into the glue tank. The insertion length should be slightly greater than the height of the glue cylinder, and the glue hose should reach the bottom of the glue barrel so that the glue at the bottom of the cylinder can be pumped.
- Lock the three knobs on the glue cylinder tightly to prevent air leakage.
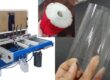
- Install the air pipe and adjust the pressure of the cylinder.
- Adjust the air pressure to about 2. The specific air pressure should be adjusted according to the requirements of the product. For the Plastic Clear Acetate Tube Machine of full glue application, the air pressure can be set a bit higher, otherwise, it can be set lower.
- The knob on the side of the cylinder is on the left side of the air pressure gauge. Pull out the knob and turn it clockwise to increase the air pressure, and turn it counterclockwise to decrease the air pressure.
- The red pull ring is the air release valve of the cylinder. When the pressure in the cylinder is too high, pull the air release valve.
- Try not to mix glues of different brands, especially PET and PVC glues, to prevent chemical reactions between the glues.
- Recycled glue can also be used continuously. Try to use the recycled glue preferentially.
- Try to keep the glue in the glue barrel and do not let it directly contact the bottom of the air tank to avoid corroding the paint on the bottom.
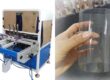
4. Adjust the Height of the Suspended Mould Plate
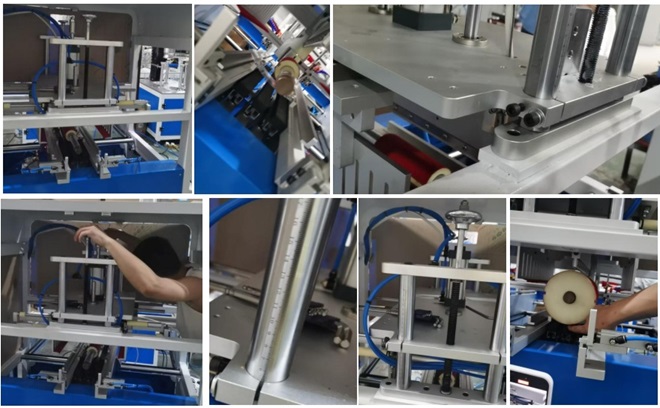
- Moving the suspended mould plate can make the whole part of the molding die, the lower molding pressing plate and the side molding pressing plate move up and down.
- When replacing a mold of our Plastic Clear Acetate Tube Machine with a similar size, it is only necessary to fine-tune the height of the suspended mould plate or adjust the stroke of the cylinder of the lower pressing plate.
- When replacing a mold with a big different size, pleaseprioritize raising or lowering the distance between the suspended mould plate and the molding positioning plate.
- Loosen the screws at the four corners of the suspended mould plate.
- Rotate the handwheel synchronously with both hands. If one person doesn’t have enough strength, two people can operate synchronously to ensure that the suspended mould plate is lifted horizontally.
- There are values on the guide rails of the suspended mould plate. Pay attention to keeping the values on both sides consistent during the lifting process to prevent skew, deformation of the guide rails and an increase in the lifting pressure.
- After lifting to a certain height, make sure that the mold can be easily put in, and the upper pressing plate is 1-2 cm away from the upper edge of the mold, lock the screws.
- Note: When replacing a small mold with a large mold, the suspended mould plate should be lifted first, and then the mold should be installed.