")
PVC Cylinder Machine Mode Installation(step 6~step 10)
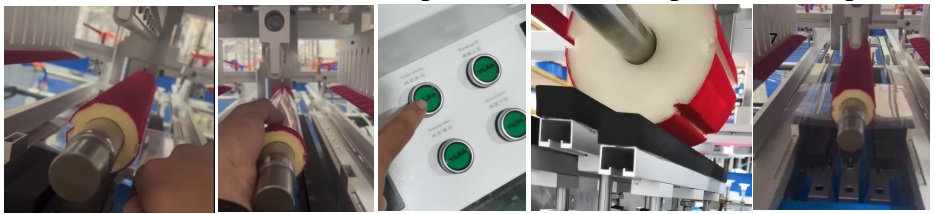
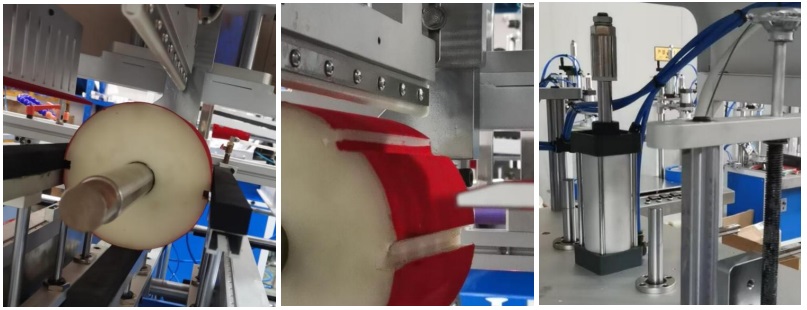
6. Adjustment of the Side Forming Pressing Plate
- Upper edge of the large mold is relatively high. To prevent the side forming pressing plateof plastic clear cylinder machine from hitting the mold, raise the side forming pressing plate and lock the positioning screws.

- Press the “Forming Positioning Plate” button to hold the cylindrical forming mold in place.
- Then press the “Side Forming Pressing” button to make the side forming pressing plate positioned above the mold.
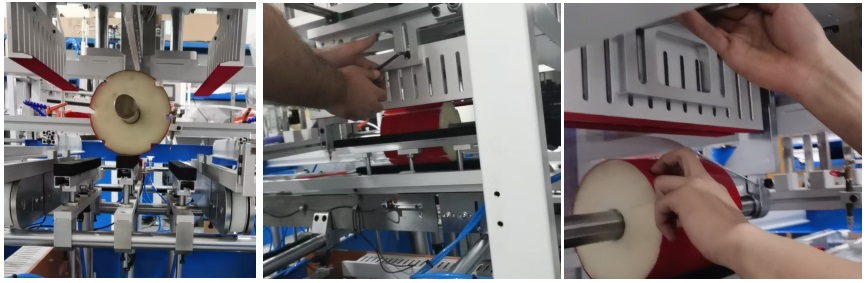
- Take a sheet of material and place it on the moldof plastic clear cylinder machine.
- Loosen the positioning screws of the side forming pressing plate to make the side forming pressing plate move vertically downward and press horizontally onto the sheet of material.
- Hold the side forming pressing plate, press it down slightly, and vertically fasten it outward to the side pressing plate to ensure that it is parallel to the positioning guide rod of the side pressing plate.
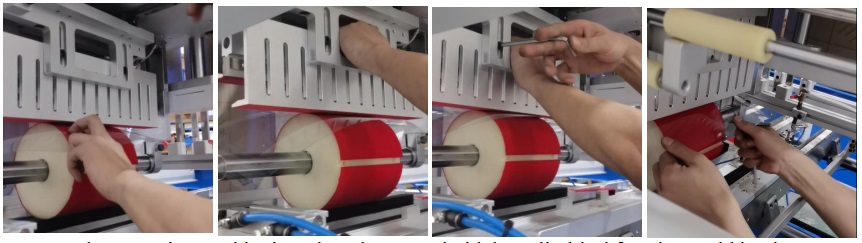
- Pull the film sheet outward in parallel with both hands to determine whether the film sheet is evenly stressed and can be pulled out under stress.
- If it is easier to pull out one side of the film sheet while it is more difficult on the other side, it indicates that the positioning of the side forming pressing plate is not horizontal enough, and it needs to be leveled.
- If the film sheet can be easily pulled out, it means that the pressing depth of the side forming pressing plate is insufficient. Slightly lower the side forming pressing plate.
- If the film sheet cannot be pulled out, it indicates that the side forming pressing plate is pressing too tightly. Slightly raise the side forming pressing plate.
7. Adjustment of the Lower Forming Pressing Plate
- As described in item 5, the height of the suspension template and the height of the mold support rod have already been adjusted.
- Press the “Lower Forming Pressing” button. The lower forming pressing plate rises, and at this time, the distance between it and the upper edge of the mold is approximately 1~2 cm.
- Press the “Lower Forming Pressing” button again. Then the lower forming pressing plate descends, and if there is a gap between it and the upper edge of the mold at this time.
- Rotate the cylinder stroke nut and the stroke limit tube of the lower forming pressing plate counterclockwise to increase the downward pressing stroke, so that the lower forming pressing plate presses tightly against the upper edge of the mold.
- Press the “Lower Forming Pressing” button back and forth, and feel that when the upper pressing plate presses down on the mold, the mold moves slightly downward under force. That’s all right.
- Lock the cylinder nut and the stroke limit tubeof plastic clear cylinder container machine.
- If you press the “Lower Forming Pressing” button again. Then the lower forming pressing plate descends, and at this time, the mold is under excessive force.
- Rotate the cylinder stroke nut and the stroke limit tube of the lower forming pressing plate clockwise to reduce the downward pressing stroke.
- Press the “Lower Forming Pressing” button back and forth, and feel that when the upper pressing plate presses down on the mold, the mold moves slightly downward under force. That’s all right.
- Lock the cylinder nut and the stroke limit tubeof PVC /PET plastic clear cylinder machine
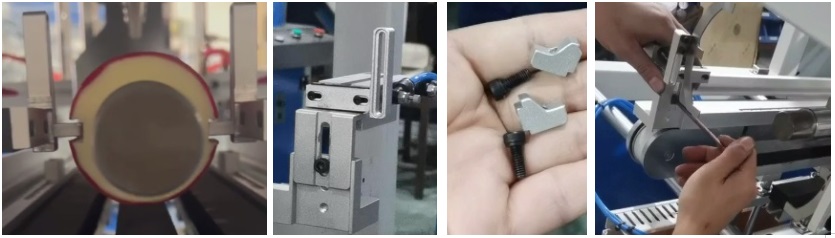
8. Adjustment of the Height of the Discharge Clamp
- Move the discharge clamp to the foremost end of the plastic clear cylinder container machine, to a position that is convenient for operation.
- Replace the discharge clamp (for example, when installing a small mold, install a single-station discharge clamp; when installing a large mold, a three-station discharge clamp needs to be installed).
- Adjust the height of the discharge clamp so that the center point of the protruding port of the discharge clamp is on the same horizontal line as the center point of the discharge groove of the mold.
9. Main Bearing Adjustment
- In the manual mode, tap the “Discharge Cylinder” icon on the touch screen to make the discharge clamp move towards the mold.
- Rotate the handwheel for the horizontal movement of the main guide rod so that the protruding port of the discharge clamp can be inserted into the discharge groove of plastic clear cylinder machine mold for about 4 to 5 mm.
- Tap the “Move Left” and “Move Right” icons on the touch screen to ensure that the discharge clamp moves smoothly during the process.
- Lock the positioning screws of the main guide rods on both sides and the fixing screws of the discharge clamps on both sides.
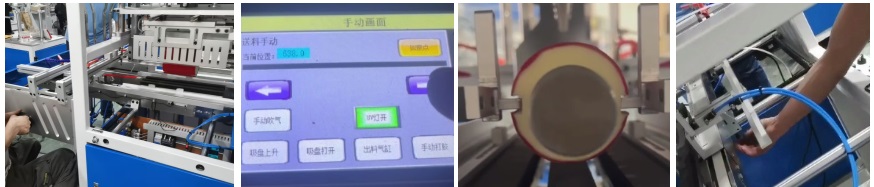
10. Find the Position of the Feeding Guide Rod According to the tube Edge
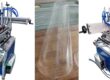
- Take a sheet of film and manually wrap it around the mold so that the overlapping material is directly below the lower forming pressing plateof plastic clear cylinder machine.
- Press the “Forming Positioning” button to make the forming positioning plate press upward, fixing the sheet material to prevent it from moving.
- Release your hands and let the material unfold naturally. Adjust the position of the sheet feeding guide rod according to the edge of the material.